Travel Backpack with Hip Belt: How to Choose One That Actually Distributes Weight on Jungle Hikes
Disclosure: This post may contain affiliate links. We may earn a commission on qualifying purchases at no extra cost to you.
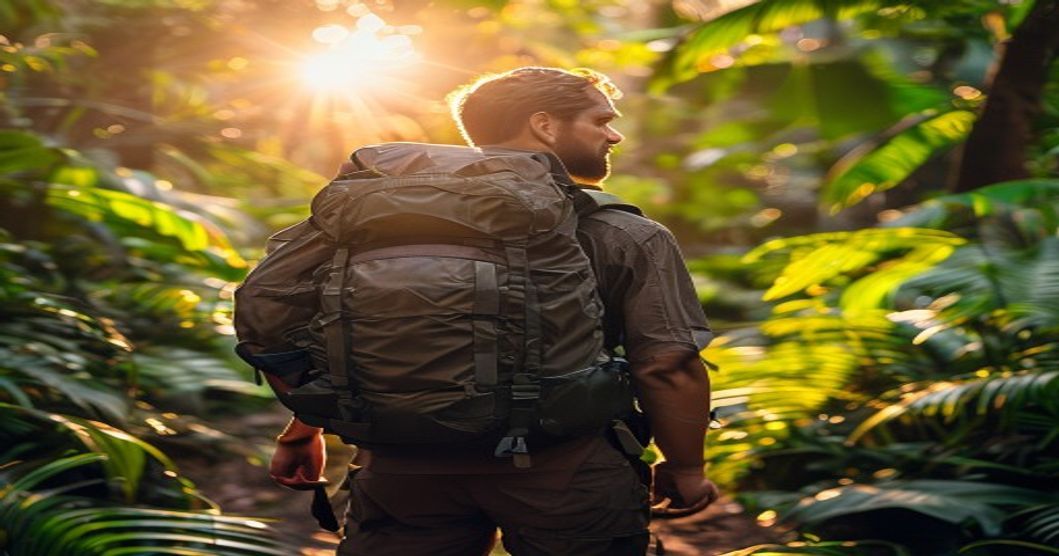
You’re three hours into a jungle hike, the humidity is crushing, and your shoulders are screaming. Your backpack feels heavier with every step—not because it got heavier, but because the weight is pulling straight down on your shoulders instead of being carried by your hips and legs, where your bigger muscle groups can handle it.
Why Hip Belts Actually Matter on Travel Backpacks
If you’ve never thought about where your backpack’s weight sits, here’s the physics: gravity pulls straight down. When weight hangs from your shoulders, it creates a lever arm that pulls your shoulders back and strains your neck and upper back. When that same weight transfers to your hips—which are connected to your legs, the strongest part of your body—the load becomes almost unnoticeable.
The hip belt does this job. When it’s cinched properly around your hip bones, it redirects the pack’s weight from your shoulders to your pelvis and legs. Studies from hiking and gear communities consistently report that hikers with properly fitted hip belts experience less shoulder and neck fatigue than those without, even on the same terrain.
For travel backpacks specifically, this matters because you’re often carrying gear on mixed terrain: airport floors, hostel stairs, uneven jungle paths, wet river crossings. A hip belt keeps the pack stable and centered on your body, which means better balance and less compensatory strain as you navigate obstacles.
What Makes a Travel Backpack Hip Belt Different from a Hiking Belt
Not all hip belts are the same, and that’s important to understand before you buy.
Dedicated hiking backpacks have rigid hip belts. They’re thick, heavily padded, and sit lower on your hips. They’re designed to transfer the maximum amount of weight—sometimes 70–80%—to your legs. They’re ideal if you’re carrying 40+ pounds of gear up mountains.
Travel backpacks have softer, narrower hip belts. They sit a bit higher, and they’re designed more for stability and comfort than for extreme weight transfer. They’re meant to support loads of 20–35 pounds across a mix of surfaces. The padding is lighter, and the belt is more forgiving because you’re not always in a hiking stance.
Why does this matter? If you wear a travel backpack with a hiking-style hip belt positioned too low on your hips, it’ll feel uncomfortable in a city. Conversely, if you try to carry a heavy load on rough terrain with a travel pack that has a cheap, unsupported hip belt, you’ll feel the difference quickly.
When shopping, check whether the pack’s shoulder straps connect directly to the hip belt. That’s a sign the belt is part of the frame system, not just sewn on as an afterthought.
How to Fit a Hip Belt Correctly
A poorly fitted hip belt does almost nothing. Here’s how to get it right:
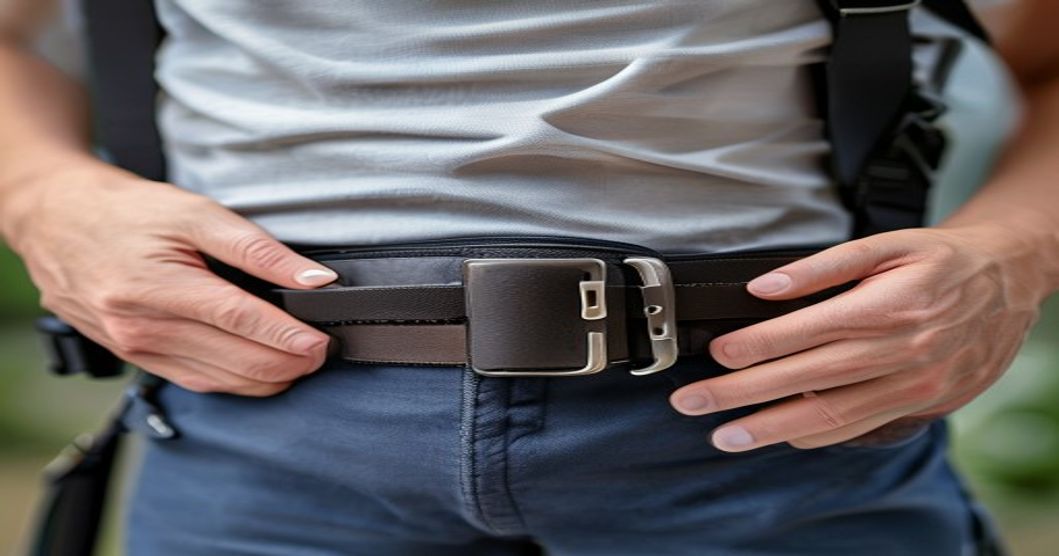
- Position at your hip bones: The belt should sit on the bony part of your hips, not your belly button. If you’re standing upright and put your hands on your sides just below your waist, that’s where the belt sits. Not higher, not lower.
- Check the tightness: Fasten the belt snugly enough that it doesn’t slide. You should be able to fit one finger under it comfortably. If you’re cramping your ribs or restricting your breathing, it’s too tight.
- Adjust shoulder straps second: Don’t tighten the shoulder straps first. Put on the pack, cinch the hip belt, and then adjust the shoulder straps so they sit flat against your chest and pull slightly backward. The shoulder straps should feel supportive, not strangling.
- Test the weight transfer: Lean forward slightly. If the weight shifts immediately to your hips and legs, it’s fitted correctly. If you feel most of the weight still pulling on your shoulders, loosen the hip belt and reposition it lower, or tighten it a bit more.
A common mistake: people cinch the hip belt too high because they’re not sure where it should go. That actually reduces its effectiveness and makes the pack feel unstable.
Packing for Weight Distribution: It’s Not Just the Belt
Even the best hip belt won’t help if you pack like you’re throwing things into a moving truck.
Here’s the framework that actually works:
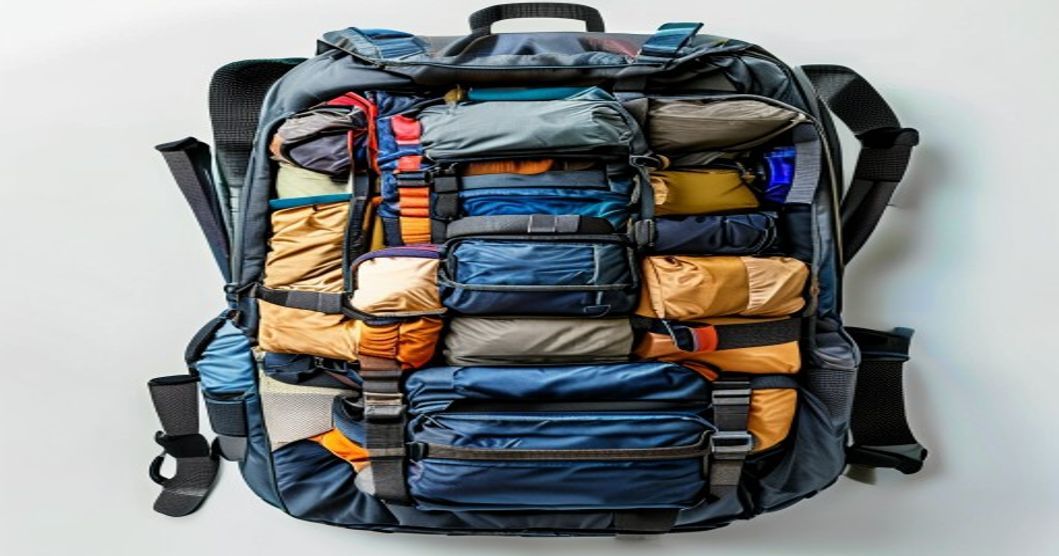
- Lower third (touching your back): Heaviest items. Water bottles, electronics, shoes. These sit closest to your body and lowest on your spine, which is where your hips can support the weight most effectively.
- Middle third: Medium-weight items. Clothing, layering pieces, packed meals. These are your bulk items.
- Top third: Lightest items. Rain cover, light jackets, toiletries. Anything you might need without opening the pack fully.
- Sides: Distribute weight evenly on both sides. A heavier load on one side forces your hips to work unevenly and defeats the purpose of the belt.
- Avoid the outside: Don’t strap heavy items to the outside of your pack. That throws the whole weight distribution off and makes the pack unstable on uneven terrain.
The goal is to pack so that the heaviest weight sits in a concentrated zone right against your lower back, centered. This makes the hip belt’s job infinitely easier.
Which Travel Backpacks Actually Have Good Hip Belts?
Not every travel backpack with a hip belt is worth your money. Here’s what separates the ones that work from the ones that just look good in photos:
- Padded but not bulky: The belt should have padding, but not so much that it’s uncomfortable in a car seat or tight hostel bunk. You want memory foam or dense EVA, not gel (gel shifts and loses cushioning quickly).
- Connected to the frame: The hip belt should attach directly to the pack’s internal frame or at the same point where the shoulder straps anchor. If it’s loose or sewn separately, it won’t support the weight properly.
- Adjustable height: Look for belts that slide up and down slightly, so you can position them at your natural hip bone regardless of your body type.
- Quick-release or buckle: A good hip belt either buckles easily or has a quick-release so you can loosen it quickly (you will need to, especially in summer heat or when you sit down).
If you’re replacing a backpack, check reviews specifically for hip belt comfort on rough terrain, not just overall reviews. Someone who used the pack in an airport for a weekend won’t give you useful feedback about how the hip belt performs on a jungle hike.
Adjusting Your Hiking Technique to Work with the Hip Belt
Here’s what experienced travelers don’t always tell you: using a hip belt effectively is a skill.
On flat or downhill terrain, keep the hip belt tight. Your hips do most of the work. On steep uphill sections, you can loosen the shoulder straps slightly and let your hip belt take more of the load—your legs are already engaged in climbing, so they can handle it. On technical terrain (rocks, roots, tight scrambles), adjust the belt based on your balance point. If you need to lean forward, the belt might need to be slightly looser so it doesn’t restrict your core.
Most importantly: don’t be a hero. If your shoulders hurt after the first hour and the hip belt isn’t helping, stop and adjust. Maybe it’s positioned too high, or maybe your shoulder straps are too loose. Ten minutes of tweaking can save hours of suffering.
Testing Your Backpack Before the Trip
You can’t know if a hip belt works for you until you wear the pack with real weight on real terrain.
Before you commit to a backpack for a big trip, do this:
- Fill it with about 20–25 pounds of gear that you’ll actually bring (not books—use clothes, water bottles, electronics).
- Wear it on a 30-minute walk through your neighborhood, including at least one steep hill or staircase.
- Note where your shoulders, neck, and hips feel strain. Adjust the belt and straps, and try again.
- If you still feel pain or discomfort after adjustments, the pack probably isn’t right for you.
This matters more than specs or reviews. Your body and the pack’s body need to fit together, and that’s something only you can test.
Related Packing and Backpack Resources
If you’re thinking about a travel backpack with a hip belt, you might also want to explore the best travel backpack with removable daypack options for multi-week trips under 60 liters, which covers how to manage gear across different phases of a long journey. For digital nomads specifically, a practical comparison of travel backpacks under 50 liters gives you a realistic breakdown of what size actually works for mixed travel. And since you’ll be on your feet a lot, the guide to travel sneakers that hold up on the road is worth reading before you leave.
Common Hip Belt Mistakes to Avoid
Based on what travelers report in forums and gear communities:
- Wearing it too high: Sitting it at your belly button instead of hip bones. This reduces weight transfer and creates discomfort.
- Tightening it too much: Cutting off circulation and making breathing difficult. Snug, not strangling.
- Never adjusting it: Keeping the belt tight for 8 hours straight. You need to loosen it when you sit, relax it when the terrain changes.
- Ignoring pack weight: A hip belt isn’t magic. If you’re carrying 40 pounds on a travel pack designed for 25, no belt will make it comfortable.
- Buying a pack based on hip belt marketing alone: A great hip belt on a poorly designed pack won’t help. Look at the whole system: frame, straps, overall fit.
A travel backpack with a hip belt can genuinely transform long days on rough terrain—but only if you choose one that’s part of a well-designed pack system, fit it correctly at your hip bones, pack your weight strategically, and adjust it as your terrain and body position change. The hip belt itself is simple; the skill is using it right. Spend the 30 minutes before your trip learning how to position and adjust it, and you’ll feel the difference from hour one. For most travelers doing jungle hikes or extended trekking on uneven ground, a quality travel pack with a decent hip belt is as important as good hiking shoes.
Disclosure
This article contains affiliate links to Amazon and other travel gear retailers. If you click through and make a purchase, I may earn a small commission at no extra cost to you. As an Amazon Associate I earn from qualifying purchases. All opinions and advice in this article are based on research and real-world traveler feedback, not sponsored relationships.