Travel Backpack with Curved Shoulder Straps for Long-Distance Trekking: Complete Buying Guide 2026
Disclosure: This post may contain affiliate links. We may earn a commission on qualifying purchases at no extra cost to you.
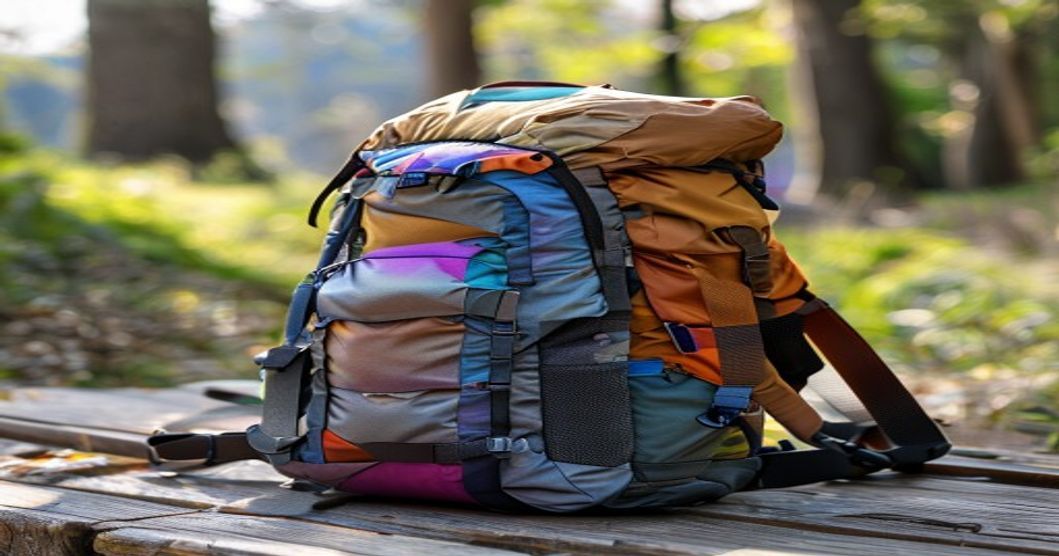
The right backpack with curved shoulder straps can cut neck and shoulder pain in half on long treks. A pack that fits your frame and distributes weight across your hips—not your neck—is the single biggest factor in whether you’ll enjoy a week in the backcountry or spend it wincing.
Curved shoulder straps matter, but only if the entire pack is built for your torso length and body type. A great strap design won’t save a pack that’s too big or sits wrong. Start by measuring your torso and matching it to the pack’s size chart, then prioritize strap angle, hip belt quality, and back panel ventilation above all else.
Why Curved Shoulder Straps Actually Make a Difference
Your shoulders slope downward and inward. A straight strap pulls perpendicular to that slope, creating lateral tension that tugs at your neck and upper traps. A curved strap follows your natural anatomy, shifting weight down toward your hips where your body is strongest.
On a day hike, this barely matters. On a 40-pound, five-day trek, it’s the difference between contentment and constant discomfort. Traveler reviews consistently mention that packs with aggressive strap curves reduced their mid-trail neck stiffness by the second or third day.
That said, a curved strap on a poorly-fitted pack is like adding ergonomic padding to a chair that’s the wrong height. The base design has to be right first.
The Foundation: Measure Your Torso Before You Buy
Backpack sizing is frame-dependent, not weight-dependent. A 55-liter pack that fits a 5’2″ frame perfectly will sit wrong on someone 6’2″ tall.
Here’s how to measure:
- Find the base of your neck (the C7 vertebra—the bump at the back of your neck when you tilt your head down).
- Measure straight down to the top of your hip bones (your iliac crest).
- That distance is your torso length. Most packs come in S (under 18″), M (18–21″), and L (over 21″) sizes.
- Check the manufacturer’s size chart. A pack listed as M might fit different than another brand’s M.
Getting this wrong—buying a pack that’s too tall or too short—will cause the shoulder straps to sit in the wrong spot on your shoulders, negating any strap-curve benefit. This is non-negotiable.
What to Look for in Curved Shoulder Strap Design
Not all curves are created equal. Here’s what separates a well-designed strap from one that’s curved just for marketing:
The Golden Criteria: The strap should start at the top of the pack angling slightly inward, then curve more aggressively as it reaches your shoulders. At the shoulder junction, there should be substantial padding (at least 1 inch thick, foam or gel). The curve should follow a natural “S” shape—never abruptly angled or too shallow. If you lay the strap flat on a table, it should resemble a gentle arc, not a straight line.
Padding density matters here too. Thin, soft padding compresses on the first day and becomes almost useless by day four. Quality packs use closed-cell foam or air-mesh padding that rebounds.
Also check the attachment point: if the strap connects to the pack body too high (near your collarbone) or too low (near your armpit), even a perfect curve won’t help. The ideal connection is 2–3 fingers below the top of your shoulder when the pack is on.
The Hip Belt: Where Most of the Weight Should Live
A curved shoulder strap is only effective if your hip belt is doing its job. On a well-fitted pack, 70–80% of the weight should ride on your hips, leaving only 20–30% on your shoulders and neck.
The hip belt should:
- Sit directly on your hip bones (iliac crest), not on your ribs or lower abdomen.
- Be at least 2.5–3 inches wide for comfortable weight distribution.
- Have firm padding that doesn’t collapse when you tighten it.
- Include a load-lifter strap that angles from the hip belt to the pack body, pulling the pack closer to your back and reducing shoulder strain.
Many hikers overtighten their hip belts thinking it solves everything. Snug is right; crushed is wrong. You should be able to fit one finger under the belt when fastened.
Back Panel Ventilation and Its Hidden Role
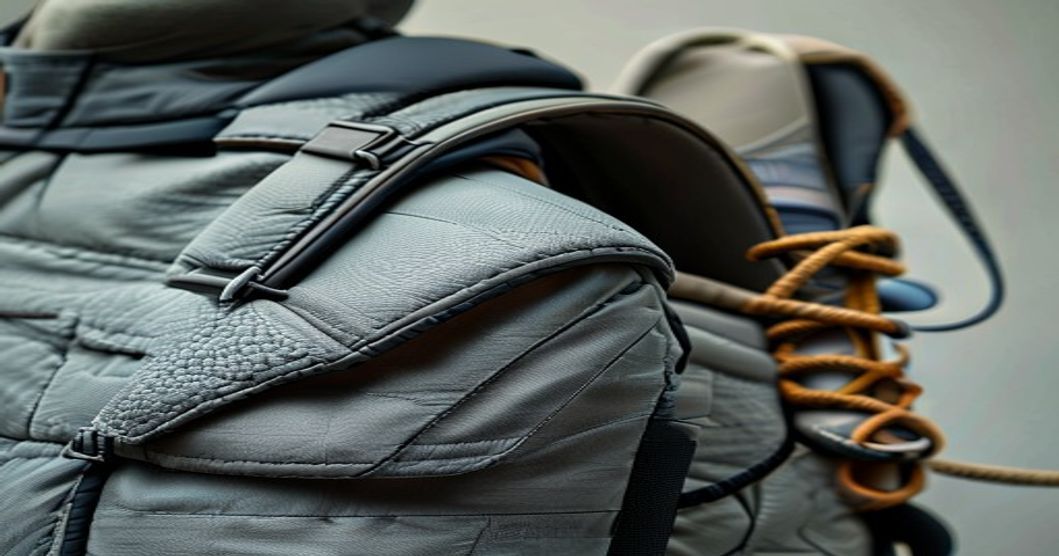
A ventilated back panel isn’t just about comfort in hot weather—it affects how the pack sits on your body and therefore how much strain the shoulder straps experience.
When sweat accumulates against your back, it creates a suction effect that pulls the pack fabric tight to your skin. This limits how the pack can move naturally and forces straps to work harder. A ventilated panel (usually a mesh or open-frame system) allows airflow and lets the pack shift slightly as you move, taking pressure off pinch points.
For treks in humid climates or warm seasons, this matters almost as much as strap design. For cool mountain treks, it’s less critical but still valuable.
If you’re planning a trek in a hot, humid climate, look for packs specifically designed with ventilated back panels.
Internal Frame Stiffness: The Invisible Foundation
You won’t see or feel the frame when you’re buying, but it’s essential. The frame (usually aluminum, fiberglass, or plastic) is what prevents the pack from sagging and dragging weight straight down onto your shoulders.
A weak frame means the loaded pack will compress and sag at the base, shifting the pack’s center of gravity lower and forward. This pulls harder on your neck. A stiff frame keeps the pack sitting high and stable against your back.
When testing a pack in a store, load it with weight and press on the sides of the back panel. It should feel firm and not collapse easily. If it feels floppy when empty, it will feel terrible when you’re three days into a 10-day trek.
Choosing Between 40-Liter and 55-Liter Packs
This decision depends on your trek length, resupply options, and packing efficiency. There’s no universal answer, but here’s the trade-off:
- Lighter overall (easier to carry)
- Forces efficient packing
- Maneuvers better on narrow trails
- Better for 4–6 day treks with resupply
- No room for mistake or extra gear
- Harder to pack in bad weather
- Can feel cramped on longer treks
- Flexibility for unexpected items
- Better for 7–10 day treks
- Easier to pack efficiently
- Room for bulkier cold-weather gear
- Heavier empty (less forgiving on fitness)
- Can tempt over-packing
- Wider body on narrow trails
Start with your expected trip weight: a 50-pound load in a 40-liter pack is pushing limits, while 50 pounds in a 55-liter is more reasonable. If you’re new to trekking, err larger—it’s easier to pack light in a big pack than to squeeze everything into a small one.

Testing and Fitting: The Non-Negotiable Step
Never buy a backpack without trying it on with weight. This is where many online shoppers stumble. An empty pack feels fine; a loaded pack reveals everything.
Here’s the proper testing checklist:
- Fill the pack to your expected trek weight (or as close as you can in a store). Most outdoor retailers have weighted vests or sandbags.
- Put it on and adjust everything: sternum strap, shoulder straps, hip belt, and load-lifter straps. Spend 2–3 minutes getting it snug.
- Walk around for at least 15 minutes. Don’t just stand still. Go up stairs, bend forward, twist. Pay attention to pressure points.
- Notice if the pack pulls at your neck or shoulders. Some pull is normal; excessive tugging means the pack or strap isn’t right for you.
- Check the hip belt position. If it rides up onto your ribs instead of your hip bones, the pack size or frame is wrong.
- Assess the curve of the shoulder straps. Do they sit comfortably on the slope of your shoulders, or do they feel like they’re pulling laterally?
If the retailer won’t let you test with weight, buy from somewhere with a generous return window. Amazon and most outdoor gear sites accept returns up to 30 days, and you can request an extended return period for off-season items.
Who This Guide Is For (and Who It Isn’t)
This approach is ideal if:
- You’re planning treks longer than four days.
- You carry more than 25 pounds regularly.
- You’ve had shoulder or neck pain on previous hikes.
- You’re committing to a specific trail or destination and want to optimize for comfort.
Skip the complexity if:
- You’re doing casual day hikes under 10 miles.
- You’re a minimalist who packs 15 pounds or less (almost any pack works).
- You have a pack that works and just need minor upgrades (a replacement hip belt pad or strap cover might suffice).
- Budget is your only constraint (a cheap, ill-fitting pack is worse than a slightly older model with good ergonomics).
Other Features Worth Considering
Once you’ve locked in the foundation—torso size, curved straps, hip belt, and frame stiffness—these secondary features add value:
Compression straps: External straps that cinch the pack narrower when you’re not at capacity. They improve stability on steep terrain.
Multiple compartments: A top pocket, main compartment, and bottom pocket let you organize efficiently and access items without unpacking everything. On long treks, this saves time and energy.
Rain cover: Most quality packs include a built-in rain cover. Check that it actually covers the bottom of the pack, not just the top 80%.
Attachment points: Loops for trekking poles, carabiners, or external gear. These are nice but not essential—you can pack most things inside.
Ultralight option: If you’re an experienced ultra-light packer, a 35–40 liter pack with minimal padding and a thin frame can drop weight significantly. But this isn’t beginner-friendly and requires meticulous packing.
Real-World Tips from Experienced Trekkers
Break in your pack before the big trip. Wear it loaded on local day hikes first. This reveals comfort issues early and lets you adjust the fit without surprise on day one of a week-long trek.
Pack heavy items low and tight against your back. Even with perfect straps, putting a sleeping bag on top pulls the center of gravity forward and strains your shoulders. Keep sleeping bags, water, and heavy food low and centered.
Invest in a quality waist belt pad upgrade if your pack allows it. After a week, the stock padding compresses. A replacement pad (usually 30–50 dollars) can extend a pack’s comfort life by years.
Don’t ignore chest and load-lifter straps. Many hikers loosen these to speed up getting the pack on and off. On long days, a snug sternum strap and engaged load-lifters reduce neck strain by 20–30% because they prevent the pack from shifting forward.
If you’re dealing with specific climate challenges, consider a pack designed for hot, humid conditions with ventilated back panels. And if you’re moving between different terrains or weather, a versatile 35-liter city-to-trail pack might suit your needs better.
For trips requiring over-the-counter items, know what allergy or pain medications you might need and pack them accordingly, considering their weight and how much space they take.
A curved shoulder strap won’t save a poorly-fitted pack, but a well-fitted pack with thoughtfully-designed curved straps, a quality hip belt, and a stiff frame will cut your trek discomfort in half. Measure your torso, test multiple packs with real weight, prioritize the fundamentals, and you’ll enjoy your time on the trail instead of counting down the days. Start with a 50–55 liter pack if you’re new—you can always downsize once you learn what you actually need.
Affiliate Disclosure
This article contains affiliate links to outdoor gear retailers. We may earn a commission if you purchase through these links at no extra cost to you. As an Amazon Associate I earn from qualifying purchases. We only recommend products and gear based on their genuine value and fit for the scenario described, not based on commission potential.