Travel Backpack with Side-Loading Access: The Buyer’s Guide to Packing Smarter in 2026
Disclosure: This post may contain affiliate links. We may earn a commission on qualifying purchases at no extra cost to you.
Most travelers pack the wrong way. They stuff everything into a backpack from the top, zip it up, and then unzip the whole thing at airport security to grab a jacket. They do this again at hotel check-in, and once more when they finally want a clean shirt. By the end of the trip, their backpack looks like a tornadoed bedroom, and they’ve wasted hours searching for things.
A side-loading backpack opens like a suitcase, letting you access items without unpacking everything. Combined with smart layering and packing cubes, it cuts prep time and stress by half—and actually survives the road.
The Side-Loading Revolution: Why This One Feature Changes Everything
Side-loading access is simple but transformative. Instead of a traditional top-loader backpack where you pack items in vertical layers and have to remove everything to find what’s at the bottom, a side-loading backpack has a full-length zipper along the side panel. Open that zipper, and the entire main compartment opens like a book. You can see everything, grab what you need, and close it back up.
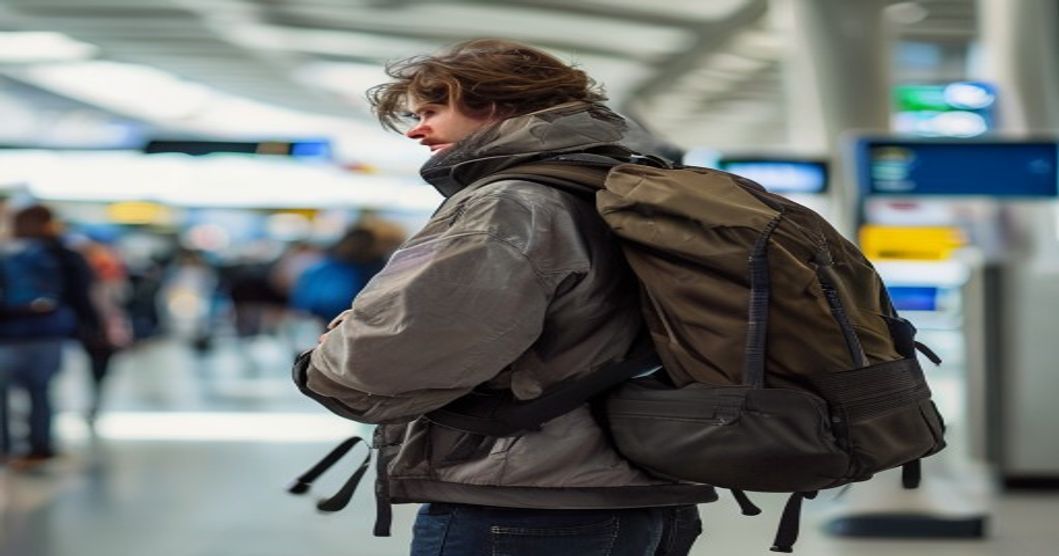
Real travelers will tell you this saves more time than any fancy compartment system. At airport security, you can unzip the side and pull out your laptop, shoes, and liquids without removing a dozen other items. At a hotel room, you can grab tomorrow’s outfit without disrupting your whole system. When you’re tired after a long day of exploring, you don’t need to think—just open the side and find what you want.
The downside? Side-loading packs are slightly heavier (the zipper and reinforced panel add weight) and they need more internal structure to avoid collapsing when opened. But for trips under two weeks, especially city-focused travel, that trade-off is worth it.
What to Look for in a Side-Loading Backpack
Not all side-loading backpacks are created equal. Here’s what separates a good one from a frustration waiting to happen:
Zipper Quality and Reinforcement
The side zipper is the backpack’s most-stressed component. It opens and closes hundreds of times over a two-week trip. Look for YKK or Riri zippers (the premium brands), and check that the seams around the zip are heavily reinforced. Some packs use a double-stitched border or a binding tape along the zipper line—that’s the sign of a pack that’s been engineered to last. If a backpack is vague about zipper details, move on.
Internal Frame and Rigidity
A side-loading pack needs something to keep it from collapsing when you open the side. That’s where the frame comes in. Look for a backpack with a rigid foam back panel or aluminum frame—something that holds shape even when the main compartment is open and partially empty. This prevents the whole bag from slouching and makes packing more predictable.
Organizational Pockets
Side-loading doesn’t mean the entire bag is one giant cave. The best side-loading packs have internal dividers, mesh pockets, and sometimes a smaller laptop/front compartment. These let you sort items by category (clothes, toiletries, electronics) so you’re not hunting for your phone in a sea of socks.
Capacity and Carry-On Compliance
Most major US airlines allow carry-on bags up to 22 x 14 x 9 inches. Verify with your airline before buying. For leisure travel, 30-40 liters works for three to five days; 45-55 liters handles one to two weeks. Measure the backpack when fully packed, not the theoretical size—fabric stretches and compresses in real life.
Hip Belt and Shoulder Strap Comfort
Even though you’re not carrying this on a mountain for eight hours, a well-designed hip belt and padded shoulder straps matter. A good hip belt transfers weight to your hips instead of your shoulders, and padded straps prevent nerve pinch on long walking days. If the straps are thin foam or the belt feels like a afterthought, your shoulders will remind you that you saved money in the wrong place.
Measure your backpack against your airline’s under-seat dimensions before you buy. A 35-liter side-loader often fits under the seat and keeps you from waiting for the overhead bin. A 50-liter almost never does. Check those measurements.
The Organized Packing System: How to Actually Use Side-Loading Access
Here’s the thing: a side-loading backpack only saves you time if you pack intentionally. Throwing things in randomly defeats the purpose. Here’s how real travelers pack for organized, stress-free trips:
Step 1: Sort by Category Before You Pack
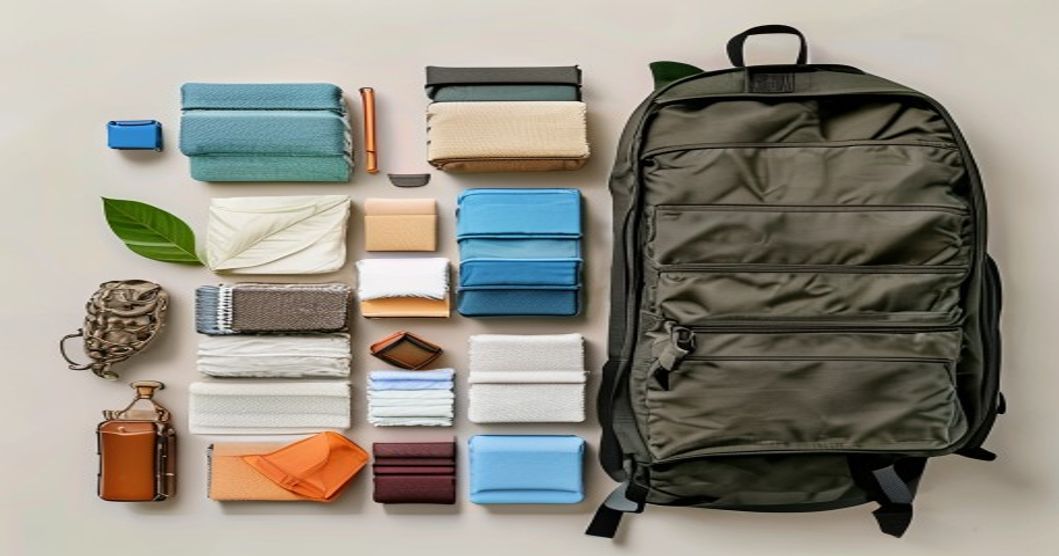
Lay everything out by category: tops, bottoms, underwear, socks, toiletries, electronics, documents. This takes ten minutes but saves you an hour of digging. You’ll also spot duplicates and forgotten items.
Step 2: Use Packing Cubes or Compression Bags
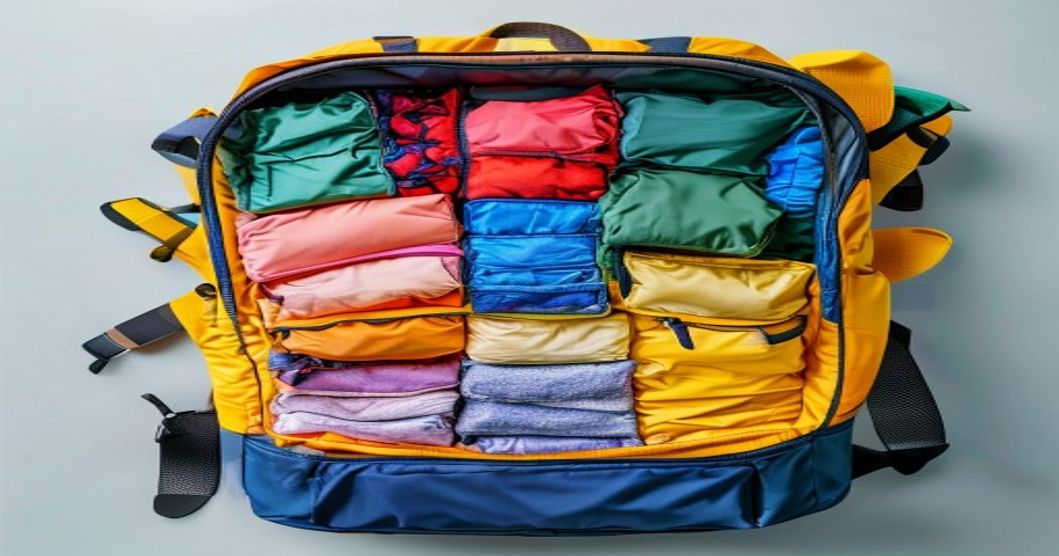
Packing cubes (or small compression bags) are non-negotiable. They compress your clothing into organized blocks, and they slide into your side-loading pack like drawers. A typical set includes a small cube for underwear and socks, a medium cube for tops, and a large one for bottoms and jackets. When you open the side zip, you see the cubes, grab the right one, and you’re done. No excavation needed.
Step 3: Pack Heavy Items Low and Toward the Back
Even with a side-loading pack, weight distribution matters for comfort. Put your largest packing cube (usually bottoms and jackets) at the bottom center, closest to your back. Put lighter items toward the front and sides. This keeps your center of gravity close to your body and prevents the backpack from pulling you backward.
Step 4: Reserve the Side Pockets for Frequent-Access Items
Many side-loading packs have small external pockets. Use these for things you access multiple times a day: phone, wallet, sunglasses, lip balm, hand sanitizer. Keep the main compartment for clothing and bulky items that you access once a day, usually at your hotel.
Step 5: Keep a Toiletries Bag Accessible
Use a small, clear toiletries bag or quart-sized pouch for liquids, sunscreen, deodorant, and medications. Place this where you can grab it quickly (usually a front or side pocket, or the top of your main compartment). When you arrive at a hostel or hotel, you don’t want to unpack your entire bag to find toothpaste.
Comparing Side-Loading Backpacks to Other Travel Bag Styles
| Backpack Type | Best For | Key Advantage | Main Drawback |
|---|---|---|---|
| Side-Loading | City trips, frequent packing/unpacking | Fast access, suitcase-like opening | Slightly heavier, needs internal frame |
| Top-Loader | Backpacking, outdoor multi-day trips | Lighter weight, ultra-durable | Have to unpack to find buried items |
| Hybrid (Top + Side) | Long trips, mixed activity (hiking + cities) | Flexibility of both styles | Usually heavier and pricier |
| Rolling Luggage | Business travel, frequent flyers | Easiest to load/unload, most capacity | Can’t climb stairs, not for rough terrain |
Common Mistakes to Avoid When Using a Side-Loading Backpack
Travelers make the same mistakes over and over. Here’s what actually matters based on how people use these packs:
- Overpacking the main compartment. Just because you can fit 50 liters doesn’t mean you should. When the pack is too full, the side zip strains and the frame buckles. Pack for 70-80% of capacity, leaving room to move items around and compress slightly during the trip.
- Ignoring weather sealing. If your backpack will see rain, check that the zippers are sealed or that there’s a rain cover. A side-loading pack’s seams and zippers are exposed; they need weather protection or at least a pack liner.
- Forgetting to try it on fully loaded. A side-loading pack feels completely different when empty versus packed. Try it on at the store with weight inside if possible. Or test-pack it at home before you travel, not the night before your flight.
- Choosing a backpack that’s too large. “I’ll grow into it” is a lie travelers tell themselves. A 65-liter pack on your back makes hiking around a city exhausting. Smaller is better—you can always buy a second bag for longer trips.
- Neglecting the hip belt. Many travelers skip the hip belt or don’t adjust it. A properly fitted hip belt transfers 60-70% of weight to your hips. Tighten it and you’ll walk easier, especially on all-day exploration days.
Real-World Durability: What Actually Survives the Road
Here’s what travelers really care about: does this backpack still work after 20 flights, a dozen airport security lines, and constant handling? Side-loading packs take a beating, especially that zipper.
Premium packs from manufacturers that focus on travel durability use heavy-duty materials and over-engineered zippers. You’ll pay $200-350 for a truly bulletproof side-loader, but many travelers report them lasting five, ten, or more years of annual trips. Budget packs ($80-120) often fail on the zipper or seams after two to three years of heavy use.
A few durability red flags: thin nylon material, plastic zippers, single-stitched seams, and vague descriptions of the frame. If the manufacturer doesn’t clearly explain how they’ve reinforced the side zipper, assume they haven’t.
- Quick access without unpacking everything
- Mirrors luggage experience for converted suitcase travelers
- Easy to organize with packing cubes
- Great for frequent item access (security, hotels)
- More comfortable loading/unloading off the ground
- Heavier than top-loaders due to frame and zipper
- Side zipper is a durability weak point
- Larger footprint when sitting in tight spaces
- Less suitable for serious backpacking
- Premium models are pricier than basic top-loaders
Who This Backpack Is Actually For (and Who It Isn’t)
Perfect For
- City explorers and leisure travelers who change locations every 2-3 days
- People who want the ease of a suitcase but need backpack mobility
- Travelers who access their bag 5+ times a day (frequent outfits, frequent tech access)
- First-time backpackers switching from wheeled luggage
- Anyone who travels with a laptop or camera (needs organized access)
Not a Good Fit
- Multi-week backcountry or wilderness trips (too heavy, too many moving parts)
- People climbing stairs or hiking in mountains regularly (weight matters more than access)
- Budget-conscious travelers who need a sub-$100 pack (quality side-loaders cost more)
- Minimalist travelers who want the lightest possible gear
- Anyone planning a year-long backpacking journey (they’ll want to optimize for weight and durability separately)
Related Travel Gear Guides to Help You Prepare
If you’re investing in a new travel backpack, a few other gear decisions matter:
- Travel Backpack with Curved Shoulder Straps for Long-Distance Trekking: Complete Buying Guide 2026 — if you’re doing any serious walking or hiking, this guide covers ergonomics in depth.
- Travel Backpack Under 35 Liters for City Hopping: What Actually Works in 2026 — for truly minimalist travel or flights with strict carry-on limits, smaller packs have different trade-offs.
- Best Travel Allergy Medication for International Trips: Prescription vs. Over-the-Counter — don’t forget the smaller details that keep trips smooth, especially health and medications.
The Real Bottom Line
A side-loading backpack isn’t magic, but it’s the single best way to end the backpack-unpacking spiral. Combined with packing cubes and a logical sorting system, it cuts prep time and stress by half. For city trips, multi-country journeys, and any travel where you pack or unpack more than once a day, side-loading access is worth the extra weight and cost. Look for reinforced zippers, a rigid back panel, and a comfortable hip belt. Buy once, use for years. You’ll thank yourself when you’re grabbing your passport at the airport instead of excavating your entire backpack.
Affiliate Disclosure
This article contains affiliate links. We may earn a commission if you click a link and make a purchase. As an Amazon Associate I earn from qualifying purchases. This does not affect the price you pay, and helps us continue creating helpful travel guides.