How to Prevent Luggage Damage While Traveling: 7 Practical Steps & Gear Tips

Disclosure: This post may contain affiliate links. We may earn a commission on qualifying purchases at no extra cost to you.
You’re standing at baggage claim, and there it is—your suitcase with a cracked corner and a zipper hanging by a thread. Three weeks of travel, potentially ruined in one flight. If this sounds familiar, you’re not alone. Most people chalk it up to bad luck, but honestly? Luggage damage is preventable. The right gear, smart packing habits, and a few protective steps can keep your suitcase in one piece through years of trips.
Why Luggage Damage Happens (And Where It Starts)
Baggage handlers toss bags around. Conveyor belts compress and twist them. Other people’s luggage stacks on top of yours with zero sympathy for your corners. Inside, your stuff shifts during takeoff and landing, pressing against the walls with every bump. That toothbrush handle grinding against the hard plastic shell doesn’t seem like much in the moment, but repeated pressure flexes the material and creates stress cracks that spread.
The three spots that always seem to fail first:
- Bottom corners — They hit the ground first. A cracked corner starts cosmetic, then turns into a structural problem that makes your whole suitcase fail.
- Zippers — They work harder than any other part of your luggage. Force them, snag fabric in them, overload them, and they jam and strip. A dead zipper means your suitcase is basically useless.
- Handles and wheels — These get yanked, pulled, and stressed under weight. Broken handles or wheels mean you’re dragging a heavy bag awkwardly, which compounds the damage.
Step 1: Choose Luggage With Durability Built In
Your luggage is the foundation. Not all bags are made the same.
Hardside vs. softside: Hardside luggage (polycarbonate or ABS plastic) protects what’s inside better and resists punctures. Softside absorbs impact, which sounds good until you realize that energy has to go somewhere—usually into the zippers and seams. For checked baggage, hardside wins. For carry-on, softside with compression straps works fine because baggage handlers don’t manhandle it as much.
Wall thickness actually matters. Budget luggage uses thin shells that crack easily. Look for mid-range cases with thicker walls—check manufacturer specs and read reviews from other travelers to see how the bags hold up.
The zipper is everything. High-quality zippers from real manufacturers are what separate luggage that lasts from luggage that falls apart. They’re smoother, stronger, and way less likely to strip than generic zippers. If the product page doesn’t mention the zipper brand or quality, check the reviews—other travelers will tell you if it’s garbage.
Reinforced corners: Some brands add plastic corner guards during manufacturing. Worth it. If your luggage doesn’t have them, you can add them afterward (we’ll get to that).
Step 2: Pack Smart to Minimize Internal Damage
Packing is about more than fitting everything in. It’s about protecting your luggage from the inside.
Use Packing Cubes and Compression Bags
Packing cubes keep clothes tight and organized. The real benefit? They stop your stuff from bouncing around. Hard items like toiletries, electronics, and shoes go in rigid cubes at the bottom or sides. Soft items—shirts, socks, underwear—surround them like cushioning. This keeps one hard edge from grinding against the luggage wall every time the plane hits turbulence.
Compression bags save space, but don’t go overboard. Over-compressed luggage creates pressure points that stress the seams and shell. Fill the bag, compress until it’s snug, and stop. Don’t cram multiple compression bags into one suitcase—you’re just creating pressure that wrecks the structure.
Create a Protective Layer
Line the bottom of your suitcase with soft stuff—a sweater, towel, or fleece. This cushions the hard floor and gives delicate items a buffer against baggage handlers dropping your bag. Place hard items on top, then wrap them loosely with clothes. The goal is no hard edges touching the luggage walls directly.
Weight Distribution
Unbalanced luggage stresses one side of the shell and wrecks your wheels. Spread weight evenly across the base. Don’t dump all your heavy stuff in one corner. Use both sides of your suitcase.
Step 3: Reinforce the Exterior With Protective Gear
Your luggage will get beat up at the airport. Protective gear is cheap insurance.
Corner Guards and Edge Protectors
Adhesive corner guards stick to the four bottom corners. They absorb the first hit and protect the shell underneath. Some travelers also add edge guards along the bottom seam. A set runs around $10–20 and takes a few minutes to stick on. If your luggage already has them, you’re good.
Zipper Tape and Reinforcement
Heavy-duty duct tape or luggage-specific zipper tape wrapped around the zipper pull and slider adds structural support. It keeps zippers from being forced open and reduces the chance of the slider stripping. Wrap it snug but not so tight that the zipper can’t move. A few dollars per roll.
Luggage Covers (Optional)
Stretch luggage covers protect against scuffs and minor scrapes. Mostly cosmetic, but they do prevent abrasion. They also hide your luggage’s brand and condition from thieves. Not essential, but useful if you fly a lot.
Step 4: Choose TSA-Approved Locks (For Domestic US Travel)
Flying domestically in the US? Use TSA-approved locks. If TSA needs to inspect your bag, they can open it without cutting the lock, which means no surprise damage. These locks cost around $10–15. Peace of mind for basically pocket change.
Flying internationally or leaving the US? Check your destination’s baggage screening rules first. Some countries don’t recognize TSA locks. When in doubt, use a TSA lock for US legs and remove it for non-US screeners.
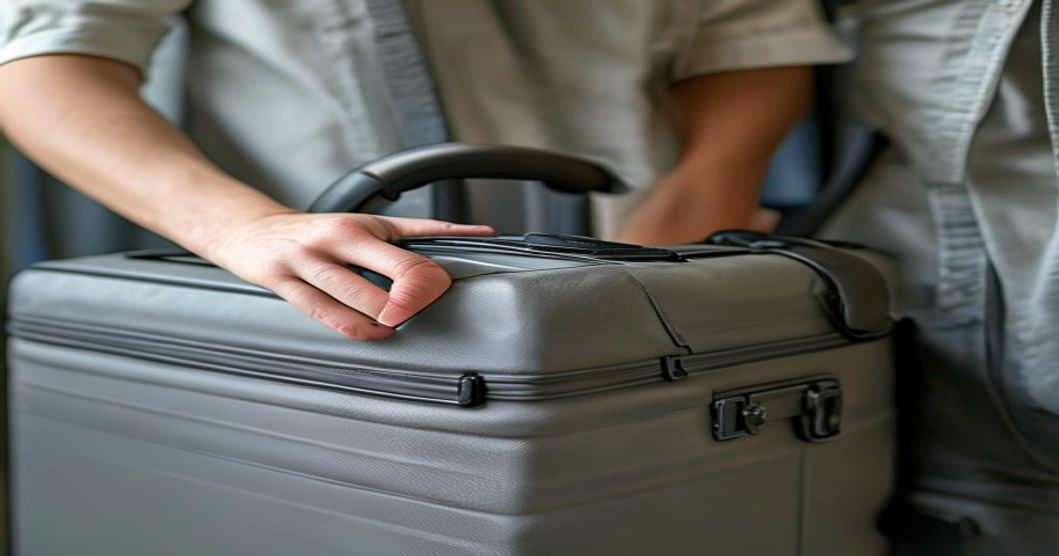
Step 5: Spread Weight Across Multiple Pieces of Luggage
Never max out one suitcase. A heavy bag puts all the stress on wheels and handles. Two moderately-loaded bags spread the load. Your luggage lasts longer, items inside are less likely to break, and you’ll actually stay under most airlines’ weight limits. Overweight fees plus damage repairs add up fast.
Step 6: Document Your Luggage Before and After
Take photos of your luggage before you leave home—the corners, zippers, handles, everything. If something breaks during the trip, you have proof of what it looked like before the flight. Airlines usually won’t pay damage claims without evidence of pre-existing condition.
Take a photo of any damage immediately at baggage claim, with the carousel and airport visible. Report it to the airline right then. Don’t wait days to file—airlines will sometimes deny claims if you wait.
Step 7: Carry On When You Can
The simplest way to protect fragile or valuable items? Keep them with you. Most airlines let you bring one personal item and one carry-on at no extra cost. For expensive electronics, important documents, or anything you can’t replace, carry it on. Checked luggage is for stuff you don’t mind if it breaks.
Who This Advice Is For (And Who It’s Not)
This Works Well If You:
- Fly multiple times a year and want your luggage to last several years
- Check baggage and want to avoid paying for repairs or replacements
- Pack things you actually care about protecting
- Are willing to spend money on preventive gear upfront
This Might Be Overkill If You:
- Travel once every few years and don’t mind replacing luggage after each trip
- Only carry a backpack or personal-item bag (no checked luggage)
- Don’t care about cosmetic damage as long as the luggage still works
- Have plenty of baggage allowance and room for extra pieces, so weight distribution isn’t an issue

The Budget Breakdown
Here’s what actually preventing damage costs:
- Durable hardside luggage (mid-range): $100–200 (one-time)
- Packing cubes and compression bags: $20–30 (one-time, reusable)
- Corner guards: $10–20 (one-time, stick-on)
- Zipper reinforcement tape: $3–10 (reusable for years)
- TSA locks (set of 2–3): $15–20 (one-time)
- Luggage cover (optional): $15–25 (reusable)
- Total upfront: ~$175–305
Now compare that to replacing damaged luggage ($150–400+), time spent filing insurance claims (plus the deductible), or panic-buying a replacement at airport prices. Prevention is cheaper and way less stressful.
What to Do If Damage Already Happened
Got a cracked corner or jammed zipper? Here’s what to do:
At the airport: Report the damage to the airline at baggage claim immediately. Get a written incident report. Take photos. This is critical—airlines deny claims filed days later.
Zipper repair: A tailor or luggage repair shop can replace the slider or sew in a new zipper for around $20–50 depending on the damage. Way cheaper than a new bag. You can also buy replacement sliders online if you’re handy with a needle.
Cracked shell: Small cracks can sometimes be sealed with plastic epoxy or plastic welding adhesive ($5–10). Bigger cracks need professional repair or a new bag. Check if your luggage has a manufacturer warranty—some cover manufacturing defects for several years.
Broken wheels: Replacement wheel kits are available online and usually pretty easy to install. Much cheaper than new luggage.
Also look into travel credit card protections. Many premium travel cards include baggage damage coverage. If you have one, file a claim with your card issuer in addition to the airline. You might recover costs for emergency supplies you had to buy because your luggage was damaged or delayed.
The Takeaway: Prevention Beats Replacement Every Time
Luggage damage isn’t inevitable. It’s the result of cheap gear, bad packing, and unfortunate timing. You can’t control the timing, but you control the first two. Buy durable luggage, pack smart with protective layers and cubes, reinforce the corners and zippers, and spread your weight evenly. These habits cost almost nothing and add years to your luggage’s life.
Next time you land and your suitcase rolls off the carousel intact, you’ll know it’s not because you got lucky. It’s because you actually prepared.
Prevent luggage damage by choosing hardside suitcases with reinforced corners and quality zippers, packing with cubes and soft protective layers inside, and reinforcing the exterior with corner guards and zipper tape. Report any damage immediately at baggage claim with photos. Carry on valuable or fragile items when possible. Prevention costs relatively little and saves you hundreds in repairs and replacements. If you travel regularly, this gear investment pays for itself.
Browse Luggage Protection Gear on Amazon →
Related Reading
For more travel prep, check out our guides on best compression bags for travel to maximize packing space, travel credit card perks that can cover baggage damage, and the best travel adapter to protect your electronics during international trips.
About This Article
This guide is based on travel industry durability standards and real feedback from travelers about what actually protects luggage during flights. We researched repair costs, prevention strategies, and what actually survives air travel based on published information and traveler reviews. The goal is to help you make smarter gear choices and packing decisions, not to push any specific brand.