Best Gear for Watching the Perseid Meteor Shower While Camping and Traveling
Disclosure: This post may contain affiliate links. We may earn a commission on qualifying purchases at no extra cost to you.
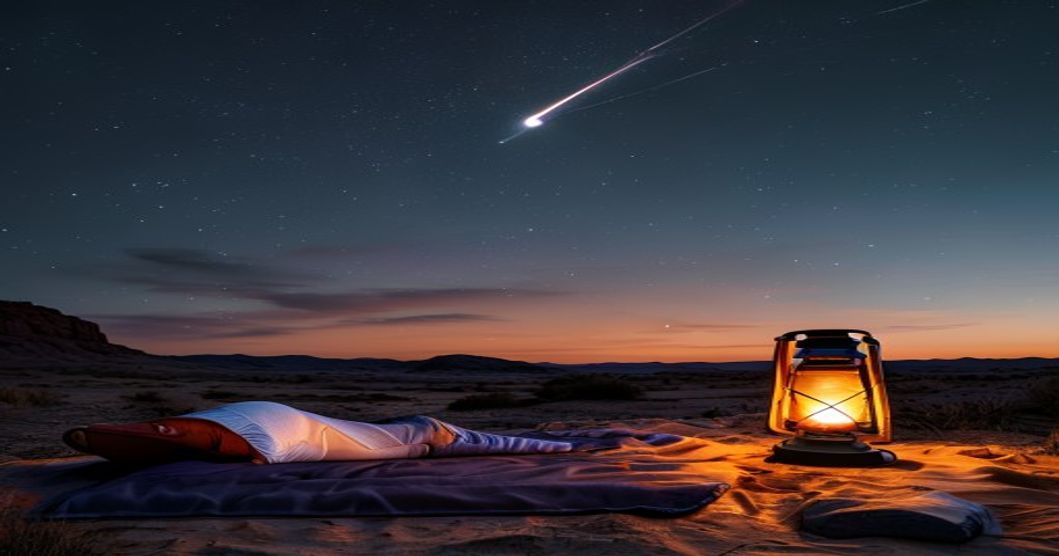
You’re lying under a sky so clear you can see the Milky Way split the darkness in half, and then—a meteor streaks overhead. Your neck might be getting stiff, your sleeping pad might be thin, but in that moment, the gear choice that got you there becomes either your best friend or your biggest regret. Watching the Perseid meteor shower while traveling isn’t just about finding a dark sky; it’s about packing the right comfort, lighting, and protection so you can actually stay outside for hours without misery or damage to your kit. This guide walks through the real gear trade-offs that separate a night you’ll remember from a night you’ll spend cursing your backpack choices.
Pair a compact ultralight sleeping pad with a 20°F-rated sleeping bag, add a red-light headlamp, and invest in a lightweight camping chair—these three items separate comfort from regret on a meteor-watching trip. A backup tarp or bivy and a portable phone charger round out the essentials.
Why Gear Matters for Stargazing Trips
A meteor shower observation isn’t a sprint—it’s a commitment. Experienced stargazers will tell you they spend 3 to 5 hours lying back, looking up, often in cool night air and on ground that won’t conform to your body. Your tent is optional. Your motivation to stay outside without freezing is not. Most casual campers underestimate nighttime temperatures and overestimate their tolerance for an uncomfortable sleep setup. The difference between a $15 thin foam pad and a $120 ultralight insulated pad often determines whether you sleep 6 hours or wake up shivering at 2 a.m.
Beyond comfort, stargazing gear has specific needs that regular camping doesn’t. Red-light headlamps preserve night vision. Minimal ambient light (no white flashlights or phone screens) keeps the sky visible. Moisture management matters because dew settles on anything exposed, and high-elevation dark-sky spots get cold enough that condensation damages electronics. Packing for this trip means rethinking standard camping lists.
Sleeping Pads: Ultralight vs. Insulated Comfort
The most underrated gear decision for traveling to a meteor-watching trip is the sleeping pad. Unlike a summer car-camping trip where you pack everything, a traveling stargazer often hikes or drives to remote dark-sky sites where weight, pack volume, and setup speed matter. The choice is typically between ultralight inflatable pads and closed-cell foam pads—and the trade-offs are real.
Ultralight inflatable pads (like those with integrated air pumps or valve designs that cut weight to 1 lb or less) pack tiny and weigh almost nothing, but they require breath or a pump to inflate, they can puncture, and they offer less insulation on very cold ground. Closed-cell foam pads are bulletproof, don’t require inflation, cost $20-50, but they’re bulkier to pack and provide lower insulation. For a traveling meteor watcher, the hybrid approach works best: carry a compact foam pad (even 0.25 inches of foam prevents most ground cold) and add an ultralight inflatable layer on top for comfort and warmth.
| Pad Type | Weight | Insulation (R-Value) | Best For |
|---|---|---|---|
| Ultralight Inflatable (1-layer) | 0.8–1.2 lb | 2–4 | Summer trips, vehicle camping, weight-conscious travelers |
| Closed-Cell Foam | 0.5–1 lb | 1–3 | Rough terrain, durability, backup pad |
| Premium Insulated Inflatable (dual-layer) | 1.5–2 lb | 4–6 | Cold-weather stargazing, high elevation, comfort priority |
| Hybrid (Foam Base + Inflatable Top) | 1.2–1.8 lb | 3–5 | Traveling meteor watchers, best balance of weight and warmth |
Choose ultralight inflatable if: You’re camping in a vehicle, visiting low-elevation dark-sky sites in summer, and comfort is secondary to pack weight. These pads roll up small enough to fit in any travel backpack and weigh less than a water bottle.
Choose hybrid (foam + inflatable) if: You’re hiking to a site, expect cold nights (below 50°F), or plan to stay put for hours. The foam layer never fails, the inflatable adds luxury, and together they weigh less than most car camping pads. This is the traveling stargazer’s practical pick.
Sleeping Bags: Temperature Rating and Portability
August nights at popular meteor-viewing locations—often high desert or mountain areas—regularly drop to 40-50°F, even when daytime temps soar. Underpacking sleeping bag warmth is one of the most common regrets. A bag rated for 20°F (-7°C) sounds overkill until you’re shivering in a 40°F bag designed for summer camping and realize you can’t sleep.
Traveling campers often face a weight-vs.-warmth trade-off. Synthetic bags are heavier but stay warm when wet. Down bags are lighter and pack smaller but lose insulation if damp (risky at high elevations where dew is aggressive). The compromise for meteor watchers: a synthetic bag rated 20°F to 32°F, weighing 2-3 lbs, that covers August cold and unexpected dips without bloating your pack. Pair it with a lightweight liner (adds minimal weight, extends the bag’s life, and provides a thermal boost on colder nights) and you’ve solved most temperature surprises.
Lighting: Red Light vs. White Light
This is non-negotiable: bring a headlamp with a red-light mode. White light destroys your night vision for 20-30 minutes. If you’re checking a star chart or navigating back to camp, white light means losing sight of the entire Milky Way and dimming meteor visibility. A red-light headlamp ($15-50 depending on features) preserves your adaptation and lets you use it guilt-free.
Many budget headlamps now include switchable red-light modes. Check that the red mode is a true LED (not a gel filter over white), as gels can slide and fail mid-trip. Keep the headlamp in a zippered pocket of your backpack so you’re not scrambling in the dark when you need it. A backup lightweight LED light (AAA-powered, under 2 oz) rounds out your lighting kit and handles emergencies without drawing a crowd.
Camping Chairs: Comfort Without the Weight Penalty
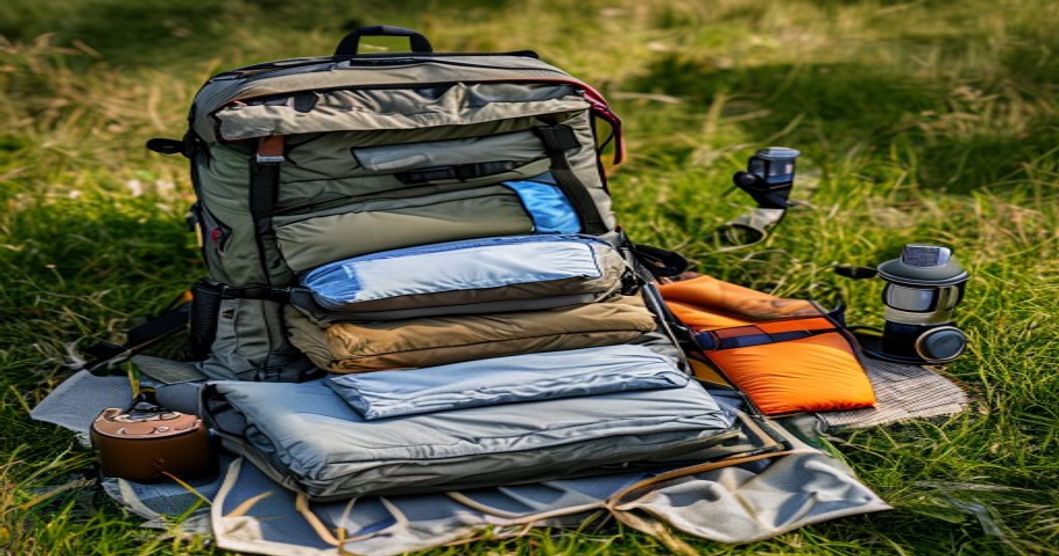
Lying flat on your back for hours works for some people. Most people’s necks, shoulders, and lower back revolt by hour two. A lightweight camping chair ($40-80, weighing 1-2 lbs) that reclines or tilts back solves this without bloating your pack. Ultra-compact models pack down to the size of a water bottle.
Look for chairs with an adjustable backrest or tilt feature. A zero-gravity or recline-style chair lets you position yourself at a comfortable angle for neck and head viewing without straining. If you’re hiking to a remote spot, skip the full camping chair and bring a compact folding seat or even a lightweight foam pad and improvise a backrest using your backpack. The traveling stargazer’s trick: a chair rated 250+ lbs that packs small is worth the investment; you’ll use it on every trip.
Additional Essentials: Moisture, Power, and Protection
High-elevation and desert stargazing sites get aggressive dew. Even on cloudless nights, water condenses on fabric, electronics, and gear left out overnight. Pack your sleeping bag and electronics in dry bags (lightweight compression bags weigh ounces and cost $5-15). Reusable silica gel packs protect cameras and phones without adding much weight.
Bring a portable phone charger (20,000 mAh solar options exist) not just for convenience but for safety. If you need to call for help or navigate in an emergency, a dead phone is a problem. Keep it in an insulated case to prevent battery drain in cold nights.
A lightweight emergency tarp or bivy shelter is cheap insurance. If weather turns, you have cover. If you’re watching from open ground with no tent, a compact emergency shelter (under 1 lb) fits in any pack and might save you if unexpected rain or cold arrives.
- Ultralight travel gear lets you reach remote dark-sky sites on foot or bike
- Compact sleeping pads and chairs pack into any backpack
- Red-light headlamps preserve night vision and cost under $30
- Hybrid pad setups balance warmth, weight, and durability
- Lightweight emergency shelters add safety without bulk
- Ultralight gear costs more upfront than standard camping gear
- Inflatable pads require pumps or breath and can puncture
- Lightweight sleeping bags compromise on durability and weight capacity
- Camping chairs still add 1-2 lbs even when compact
- Multiple layers (pad + bag + chair + shelter) require careful packing discipline
Who This Gear Works For (and Who It Doesn’t)
This Approach Works If You:
- Plan to spend 4+ hours outside watching the night sky
- Are traveling to remote or high-elevation dark-sky sites
- Hike to viewing locations or need to minimize pack weight
- Want to avoid crowds and reach lesser-known meteor-viewing spots
- Can tolerate cool nights and handle basic camp setup
- Own or are willing to invest in ultralight gear (or check if related articles on compact backpacks can help; see our lightweight travel backpack with waterproof compartments guide for carriers that fit this gear)
This Approach Does NOT Work If You:
- Plan only a casual hour of stargazing and will head back indoors
- Are camping in an RV or car (pack full-size comfort gear instead)
- Have mobility issues that require full-height beds or sitting comfort
- Are traveling in a group and carrying communal gear (weight adds up fast)
- Prefer established campgrounds with bathrooms and power over backcountry
- Are on a tight budget and can’t spend $300+ on quality ultralight gear
Comparison: Vehicle Camping vs. Backpack Hiking to a Dark-Sky Site
Two very different meteor-watching trips, two very different gear lists.
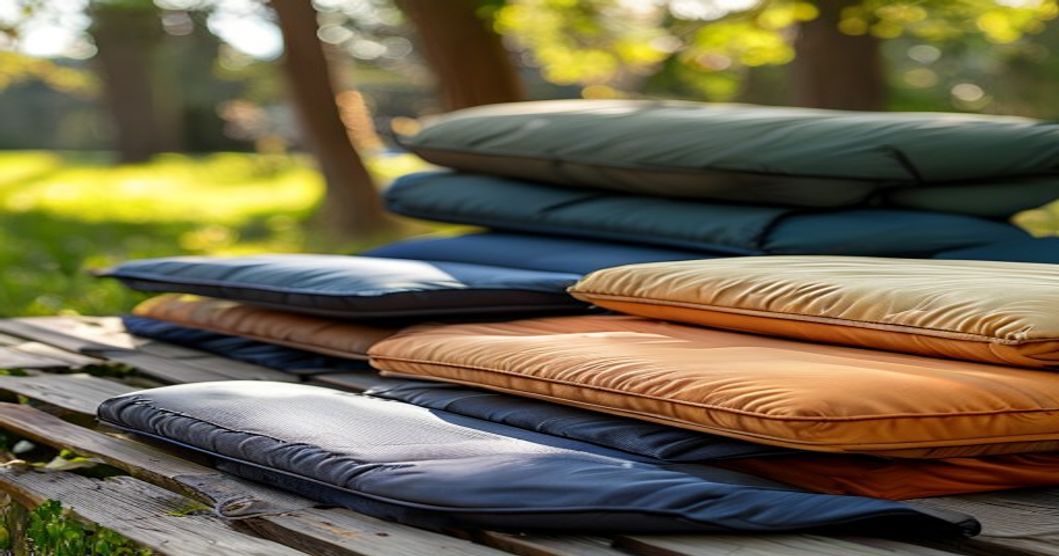
Vehicle camping (you drive to a campground or pull-off, camp within 100 yards of your car): Pack a full-size sleeping pad, a car camping sleeping bag (heavier is okay), a full camping chair, and all the luxury items you want. Weight doesn’t matter. Comfort does. Bring lights that run on car power. Use your car’s storage as a weather shelter if needed. Total gear cost: $150-300.
Backpack hiking to a remote site (3+ miles to reach the dark sky): Every ounce matters. Bring the hybrid pad setup, a 20°F synthetic bag, a compact recline chair or no chair at all, and a red-light headlamp. Use compression bags to minimize pack volume. Ditch items that seem nice but add weight with no real function. Total gear cost: $300-600 (but ultralight gear doubles as hiking and backpacking kit too, so it pays for itself across multiple trips). Check our related guide on best lightweight travel backpacks under 2kg for Southeast Asia for carriers that work here too; the principles translate to any travel scenario.
Real-World Packing Example: A 3-Day Meteor Trip
Let’s say you’re driving to a dark-sky site (like a national monument or protected area) and planning 2-3 nights of watching. Here’s a realistic gear list that weighs under 15 lbs and fits in a 40-50L backpack (if you also day-hike to alternate viewing spots from camp):
- Sleep system (5 lbs): Hybrid foam + inflatable pad (1.5 lbs), 20°F synthetic sleeping bag (2.5 lbs), lightweight liner (1 lb)
- Comfort (2 lbs): Compact recline camping chair (1.5 lbs), inflatable camping pillow (0.5 lb)
- Shelter (1.5 lbs): Lightweight emergency bivy or tarp
- Lighting (0.5 lbs): Red-light headlamp, backup AAA LED light
- Protection (1 lb): Compression dry bags, silica gel packets, lightweight rain jacket
- Misc (2 lbs): Portable charger, toiletries, snacks, water bottle, first aid
Total: around 12-14 lbs of core gear. Add your clothes, shoes, and camera kit, and you’re still under 25 lbs total—totally manageable for a traveling stargazer who wants freedom and comfort.
Where to Buy and Budget Breakdown
Most of this gear is widely available. Amazon carries ultralight pads, compact sleeping bags, and travel-focused camping chairs. Specialty outdoor retailers (REI, local climbing shops, outdoor outfitters) often have in-store expertise and rental options if you want to try before buying. For a first meteor trip, consider renting a quality sleeping bag and pad ($30-50 for 3 days) rather than buying, so you know what comfort level you actually need before investing.
Budget-conscious travelers can piece together a decent setup for $200-300 (basic synthetic bag, mid-range pad, budget headlamp, simple chair). Serious stargazers who make this an annual trip often spend $400-700 on premium ultralight gear that lasts years and works across multiple adventure types.
The gear that matters most for watching Perseid meteor showers while traveling is a hybrid sleeping pad setup (foam base + ultralight inflatable), a 20°F synthetic sleeping bag, and a red-light headlamp. These three items transform a night from uncomfortable to memorable. Add a lightweight recline chair, a dry bag, and an emergency shelter, and you’ve covered every realistic scenario a meteor-watching traveler faces. The total investment is $300-500, and the kit works for every future camping or travel adventure you take.
One practical tip: Start with rentals or borrowed gear on your first trip to dial in what comfort level you actually need. Then invest confidently in a setup you know works. Many stargazers regret buying gear before testing it on an actual night under the stars.
Final Thoughts: Gear Isn’t Magic, But It Matters
Great gear won’t guarantee a meteor sighting—clouds and bad timing happen. But the right comfort setup removes distractions, lets you stay outside longer, and means you’re present for the moment when a bright streak crosses the sky. That’s the difference between a trip you talk about and a trip you forget. Pack smart, test your setup at home before you go, and you’ll spend your August nights watching the sky instead of cursing your sleeping pad choice.
Affiliate Disclosure: This article contains affiliate links to Amazon and other travel retailers. I may earn a commission if you click and purchase, at no extra cost to you. This helps support honest gear reviews and practical travel guides. As an Amazon Associate I earn from qualifying purchases.